If you don’t know how to clear cache on iPhone X, XR or XS, then you should not be worried as I got you covered with this guide.
As you use your iPhone X, temporary files, cookies, and cached data can accumulate and take up valuable storage space. Clearing the cache on your iPhone X not only helps free up storage but also can improve the device’s performance.
In this blog post, we’ll walk you through the process of clearing the cache on your iPhone X step by step. Let’s get started!
Table of Contents
What is Cache in iPhone?
Cache on an iPhone refers to a temporary storage area where data is stored for quick access. It is used to improve the performance and responsiveness of apps and websites. When you use apps or browse the internet on your iPhone, certain data such as images, scripts, and other resources are stored in the cache.
The purpose of caching is to reduce the need to fetch data from the internet or the device’s storage every time you revisit a website or use an app. Instead, the cached data can be quickly retrieved from the cache, resulting in faster loading times and smoother user experience.
Cached data can include web pages, images, cookies, app data, and other types of temporary files. While caching can be beneficial for speed and efficiency, it can also consume storage space on your device over time.
To manage cache on your iPhone, you can clear the cache of individual apps or clear all app cache through the Settings app.
Steps to clear Cache on iPhone X, XR, XS, 11, 12, 13 & 14
Follow the steps below to clear cache on your iPhone X, XR and XS:
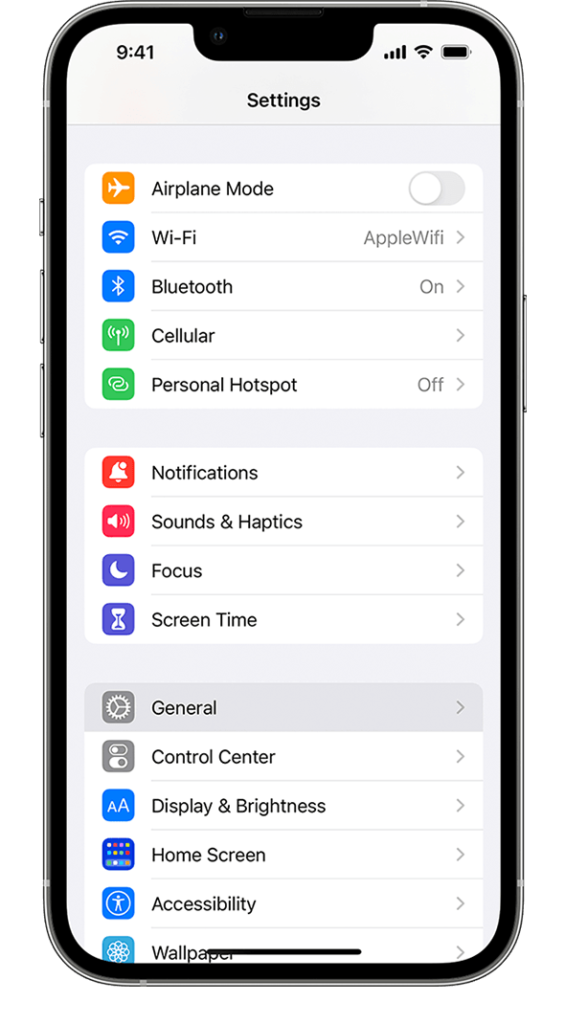
1. Open the Settings App
To begin, locate the Settings app on your iPhone X’s home screen. The Settings app icon resembles a gray gear. Tap on it to open the Settings menu.
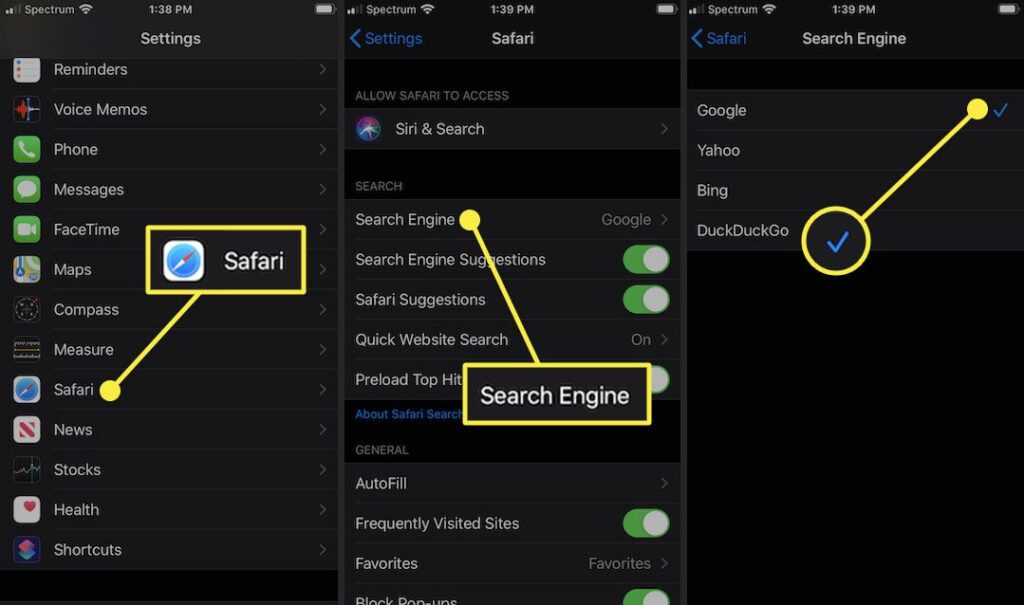
2. Find Safari in the Settings
Within the Settings menu, scroll down and look for the Safari option. It should be located in the list of apps. Tap on Safari to access the Safari settings.

3. Clear History and Website Data
Within the Safari settings, scroll down until you find the “Clear History and Website Data” option. This option allows you to clear your browsing history and the cached data associated with it. Tap on it to proceed.

4. Confirm the Action
A pop-up window will appear, asking you to confirm your decision to clear the history and website data. It’s important to note that clearing this data will also remove your browsing history. If you’re sure you want to proceed, tap “Clear History and Data.”
5. Wait for the Process to Complete
The iPhone X will now begin clearing the cache, history, and website data. The time it takes to complete this process depends on the amount of data accumulated. Please be patient and wait for the process to finish.
6. Restart Your iPhone X
Once the cache has been cleared, it’s a good idea to restart your iPhone X to ensure the changes take effect. To restart your device, press and hold the side button (or power button) along with one of the volume buttons until the power off slider appears. Slide the power off slider from left to right to turn off your iPhone. To turn your iPhone X back on, press and hold the side button until the Apple logo appears.
Congratulations! You have successfully cleared the cache on your iPhone X. This process helps free up storage space and can improve your device’s performance.
Remember to periodically clear the cache on your iPhone X to maintain its optimal performance and keep your storage clutter-free. Enjoy a smoother and more efficient user experience on your iPhone X!

